Equalization is a powerful tool that can help you enhance the sound quality of your music. Whether you’re listening to your favorite tunes at home, in the car, or on the go, an equalizer can help you fine-tune the sound to your liking.
In this article, I will guide you through the process of using an equalizer to improve your listening experience.
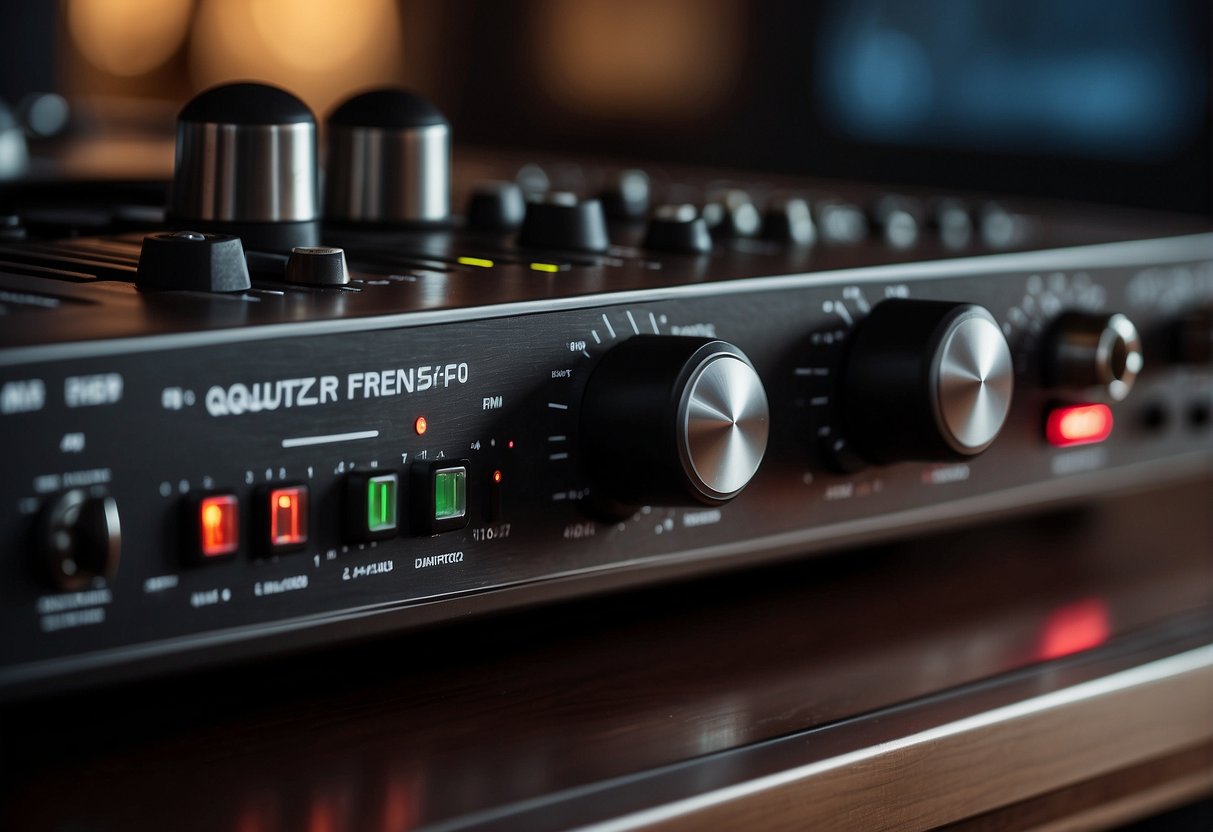
Understanding equalizers and their functions is the first step to mastering the art of sound tuning. An equalizer is a device that allows you to adjust the relative levels of different frequency bands in an audio signal. By boosting or cutting certain frequencies, you can shape the sound to your liking.
There are various types of equalizers, including graphic, parametric, and shelving equalizers, each with its own unique features and benefits.
Setting up your equalizer correctly is crucial for achieving the desired results. Before you start tweaking the settings, it’s important to understand the basics of how an equalizer works and how it affects the sound.
Once you’ve familiarized yourself with the device, you can start experimenting with different EQ techniques to enhance your listening experience. In the following sections, I will cover some of the most popular equalization techniques and show you how to apply them to different genres of music.
Equalizers, or EQs, are powerful tools used to adjust the frequency response of an audio signal. They are used to fine-tune audio and achieve the desired sound quality. In this section, I will explain the different types of equalizers, the frequency spectrum, and the roles of EQ bands.
Types of Equalizers
There are two main types of equalizers: graphic EQ and parametric EQ. A graphic EQ has fixed frequency bands with adjustable gain, while a parametric EQ allows for more precise adjustments with adjustable frequency and bandwidth.
Graphic EQs are often used for live sound reinforcement or DJing, as they allow for quick and easy adjustments to the overall sound. Parametric EQs are commonly used in recording studios or for more detailed adjustments in live sound.
The Frequency Spectrum
The frequency spectrum is the range of audible frequencies, measured in Hertz (Hz), that make up a sound. The human ear can hear frequencies ranging from 20 Hz to 20,000 Hz.
The frequency spectrum is divided into different bands, each with its own range of frequencies. These bands are often used as a reference when making EQ adjustments. The most common frequency bands are bass (20 Hz – 250 Hz), midrange (250 Hz – 4 kHz), and treble (4 kHz – 20 kHz).
EQ Bands and Their Roles
EQ bands are the individual filters that make up an equalizer. Each band has a specific frequency range and gain adjustment.
The low-frequency bands are used to adjust the bass and kick drum, while the midrange bands are used to adjust the vocals and guitar. The high-frequency bands are used to adjust the cymbals and hi-hat.
When making EQ adjustments, it is important to listen carefully and make subtle changes. Overuse of EQ can result in a distorted or unnatural sound. It is also important to note that EQ adjustments should be made in conjunction with other audio processing tools, such as compression and reverb, to achieve the desired sound quality.
Setting Up Your Equalizer
When it comes to setting up an equalizer, there are a few key things to keep in mind. By following these steps, you can adjust your EQ to enhance the sound quality of your music and audio.
Starting with Flat Settings
First, it’s important to start with a “flat” EQ setting. This means that all of the sliders on the equalizer should be set to zero, or the middle position. By doing this, you can get a baseline for the sound quality of your music without any added boost or cut to the frequencies.
Once you have your EQ set to flat, you can start making adjustments. Keep in mind that every song and audio recording is different, so there is no one-size-fits-all EQ setting. It’s important to use your ears and adjust the EQ to your personal preferences.
Identifying Frequencies to Adjust
When adjusting your EQ, it’s important to identify which frequencies you want to boost or cut. This can be done by listening to your music and paying attention to which frequencies are too loud or too quiet.
For example, if you find that the bass is too quiet, you can boost the lower frequencies on your EQ. Alternatively, if you find that the vocals are too loud, you can cut the higher frequencies on your EQ.
It’s important to remember that boosting or cutting frequencies can affect the overall frequency response of your music. It’s best to make small adjustments and listen carefully to the changes in sound quality.
EQ Techniques for Enhanced Sound
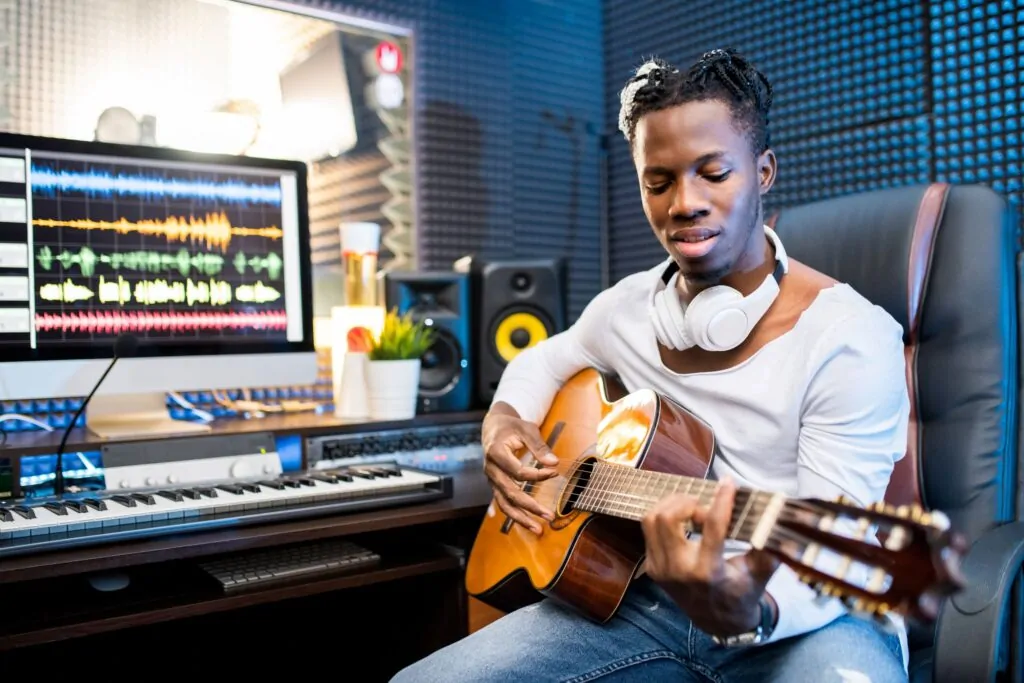
As a producer, I have found that using EQ techniques can drastically improve the sound quality of my tracks. Here are some techniques I use to achieve enhanced sound:
Boosting vs. Cutting
Boosting and cutting are two techniques that are used to sculpt sound. Boosting is used to increase the volume of a specific frequency range, while cutting is used to decrease the volume of a specific frequency range.
When using boosting, it’s important to be careful not to overdo it as it can lead to muddiness or distortion. Cutting, on the other hand, can help remove unwanted frequencies that may be causing muddiness.
Achieving Balance and Clarity
Achieving balance and clarity is one of the most important aspects of using an equalizer. Balancing the frequencies in a track can help achieve a more natural sound, while clarity can help individual elements stand out in the mix.
To achieve balance, start by analyzing the frequency spectrum of the track. Identify any frequency ranges that may be overpowering or underrepresented. Then, use EQ to boost or cut those frequencies accordingly.
To achieve clarity, focus on the individual elements in the mix. Use EQ to boost the frequencies that make those elements stand out, while cutting any frequencies that may be causing them to be masked.
Avoiding Common Mistakes
When using EQ, it’s important to avoid common mistakes that can negatively impact the sound of the track. One mistake is overusing EQ, which can lead to muddiness or distortion. Another mistake is using EQ to fix problems that can be fixed in other ways, such as adjusting the volume or panning of an element.
It’s also important to be careful when using EQ to remove unwanted frequencies. Removing too much of a frequency range can lead to an unnatural sound, while not removing enough can lead to muddiness.
Using EQ techniques can greatly enhance the sound of a track. By using boosting and cutting to sculpt sound, achieving balance and clarity, and avoiding common mistakes, producers can achieve a more natural and professional sound.
When it comes to equalizing music, different genres require different approaches. Applying the same EQ settings to all genres of music can lead to a lackluster listening experience. In this section, I will provide some general guidelines for applying EQ settings to different genres of music.
Rock and Pop Music
Rock and pop music typically feature heavy bass and treble, with vocals and drums being the main focus. To enhance the listening experience, I recommend increasing the bass and treble frequencies while slightly reducing the mid-range frequencies. This will bring out the vocals and drums while adding depth to the bass and treble.
Frequency Range
Recommended Setting
Bass (20-250 Hz)
+3 dB
Mid-Range (250-2000 Hz)
-1 dB
Treble (2000-20000 Hz)
+3 dB
Electronic and Dance
Electronic and dance music are characterized by their heavy bass and use of synthesizers. To enhance the listening experience, I recommend increasing the bass and treble frequencies while slightly reducing the mid-range frequencies. This will bring out the bass and treble while still allowing the synthesizers to be heard.
Frequency Range
Recommended Setting
Bass (20-250 Hz)
+6 dB
Mid-Range (250-2000 Hz)
-2 dB
Treble (2000-20000 Hz)
+6 dB
Jazz and Classical
Jazz and classical music are characterized by their use of acoustic instruments and vocals. To enhance the listening experience, I recommend reducing the bass and treble frequencies while slightly increasing the mid-range frequencies. This will bring out the natural sound of the instruments and vocals.
Frequency Range
Recommended Setting
Bass (20-250 Hz)
-3 dB
Mid-Range (250-2000 Hz)
+2 dB
Treble (2000-20000 Hz)
-3 dB
Remember, these are just general guidelines. Your personal preference and the specific music you are listening to may require different EQ settings. Experiment with different settings to find what works best for you.
Advanced Equalization Tools
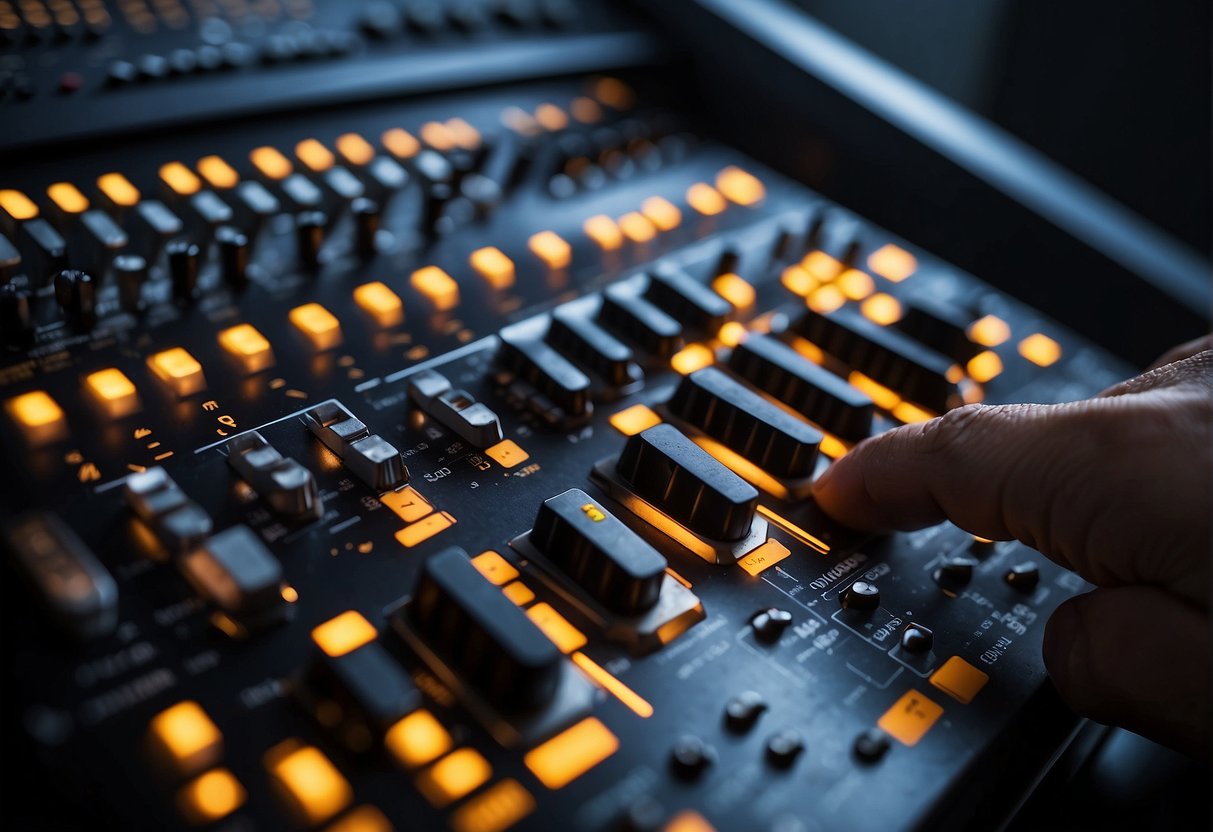
Equalization is a powerful tool that can help you shape and transform your sound with precision and creativity. In this section, I will discuss some advanced equalization tools that can help you take your audio production to the next level.
Parametric EQs and Q Values
Parametric EQs are a type of equalizer that allows you to adjust the center frequency, bandwidth, and gain of each band. The Q value determines the width of the frequency range affected by each band. A high Q value narrows the range, while a low Q value widens it.
Using a parametric EQ with a high Q value can help you target a specific frequency range and make precise adjustments. For example, if you want to reduce the harshness of a vocal recording, you can use a parametric EQ to cut the frequency range around 3 kHz with a high Q value.
Using EQ Presets Wisely
EQ presets can be a helpful starting point, but they should not be relied on exclusively. Every recording is different, and presets may not always work well for your specific situation.
Instead, use EQ presets as a reference point and make adjustments based on the needs of your recording. For example, if you are working on a bass-heavy track, you can start with a preset that boosts the low end and then adjust it to fit your specific mix.
Custom EQ for Different Environments
Different playback systems and environments can affect how your recording sounds. For example, a mix that sounds great in a studio may not sound as good in a car or on a phone speaker.
To ensure your mix sounds good in different environments, create custom EQ settings for each one. For example, you can create an EQ setting that boosts the high end for phone speakers and another that boosts the low end for car speakers.
By using these advanced equalization tools, you can take your audio production to the next level and create high-quality recordings that sound great in any environment.
Frequently Asked Questions
What are the ideal equalizer settings for optimal music listening?
There is no one-size-fits-all answer to this question. The ideal equalizer settings for optimal music listening will depend on your personal preferences, the type of music you are listening to, and the acoustics of the room you are in.
However, as a general rule of thumb, you can try to adjust your equalizer to achieve a flat frequency response curve. This means that the sound output is balanced across all frequencies, allowing you to hear every instrument and vocal with clarity.
How can I adjust my equalizer to enhance bass in audio tracks?
If you want to enhance the bass in your audio tracks, you can boost the low-frequency range on your equalizer. However, be careful not to overdo it as this can result in distortion and muddiness in the sound. A good starting point is to boost the frequencies between 60Hz and 250Hz by a few decibels.
What techniques should I use to set an equalizer for clear vocal sounds?
To set an equalizer for clear vocal sounds, you can try boosting the mid-range frequencies on your equalizer. This will enhance the clarity and presence of vocals in the audio track. A good starting point is to boost the frequencies between 1kHz and 3kHz by a few decibels.
Can you explain the meaning of different frequencies and numbers on a graphic equalizer?
On a graphic equalizer, the numbers represent the frequency range of the sound spectrum. The lower frequencies are on the left side of the equalizer, while the higher frequencies are on the right side.
The frequency range can vary depending on the type of equalizer you are using. For example, a typical graphic equalizer may have sliders for frequencies ranging from 20Hz to 20kHz.
What’s the process for fine-tuning an equalizer to achieve the best sound in a car audio system?
To fine-tune an equalizer in a car audio system, you can start by adjusting the levels of the different frequency bands to achieve a balanced sound.
You can then fine-tune the equalizer by listening to a variety of music tracks and making adjustments as necessary. It’s also important to take into account the acoustics of your car and the type of speakers you are using.
How do I effectively use an equalizer when streaming music on platforms like Spotify?
When streaming music on platforms like Spotify, you can use the built-in equalizer to adjust the sound output to your personal preferences. You can access the equalizer settings by going to the app’s settings menu and selecting “Playback.”
From there, you can adjust the levels of the different frequency bands to achieve the desired sound output. However, keep in mind that the equalizer settings may vary depending on the device you are using to stream music.
My name is Howard Matthews and I have been playing the guitar since I was knee-high. My parents like to joke that I was pulling the strings even before I was born. In fact, one of my earliest memories is sitting on the couch with my dad’s guitar, wreaking havoc on the chords.
Now, 40 years later, I can attest that I play them much better than I did back then. I have followed in the footsteps of both my parents – much to their delight – and have been the main guitarist in my band for the best part of three decades.
Music has always been my passion, and until recently my life has been so consumed with it that I haven’t had a moment to have a breath (and I wouldn’t have it any other way)!