Getting the perfect sound from an acoustic guitar is essential. One of the most important factors in achieving this is EQ. EQ, or equalization, is the process of adjusting the balance between frequency components within an audio signal.

In the case of an acoustic guitar, proper EQ can enhance clarity, warmth, and balance, creating a rich and immersive listening experience. In this article, I will share my knowledge and experience on how to EQ an acoustic guitar to get the best possible sound.
Acoustic guitars produce a wide frequency range, which can be hard to reproduce through microphones or pickups. Knowing which frequencies to boost or cut can make all the difference.
There are also different techniques for EQing an acoustic guitar, depending on whether you are recording or playing live. Mic placement and room acoustics also play a critical role in the final sound.
In this article, I will cover the basics of EQ techniques for an acoustic guitar, including mic placement and room acoustics. Additionally, I will explain how to mix an acoustic guitar with other instruments and provide some advanced EQ techniques and tools.
Lastly, I will answer some frequently asked questions about EQing an acoustic guitar. With these tips and techniques, you will be able to get the best possible sound from your acoustic guitar.
Check out these other posts:
Key Takeaways on How to EQ an Acoustic Guitar
- Understanding EQ and acoustic guitar frequencies is crucial for achieving a great sound.
- Proper mic placement and room acoustics are also important factors to consider.
- There are different EQ techniques for recording and playing live, and advanced tools and techniques can take your sound to the next level.
Also don’t miss:
Understanding EQ and Acoustic Guitar Frequencies
The Frequency Spectrum of an Acoustic Guitar
When it comes to EQing an acoustic guitar, it’s important to understand the frequency spectrum of the instrument. The acoustic guitar produces a wide range of frequencies, from low to high, that contribute to its overall sound.
The low frequencies, typically ranging from 20 Hz to around 250 Hz, provide the foundation of the guitar’s resonance and warmth. These frequencies give the guitar its body and thickness, but excessive low frequencies can result in a muddy or boomy sound.
The mid frequencies, ranging from about 250 Hz to 2 kHz, are where most of the guitar’s body and resonance sit. Notching out certain areas in this region that create muddiness can help improve clarity. Certain smaller or lighter acoustic guitars may need enhancements in this region to give them more weight.
The high frequencies, ranging from about 2 kHz to 20 kHz, provide the guitar’s brightness and clarity. Boosting these frequencies can add sparkle and definition to the guitar’s sound, but too much boost can make the guitar sound thin or harsh.
Identifying Common Problem Areas
When EQing an acoustic guitar, it’s important to identify common problem areas. One common issue is a muddy or boomy sound caused by excessive low frequencies. To address this issue, try cutting frequencies below 150 Hz or 250 Hz.
Another common issue is a thin or harsh sound caused by excessive high frequencies. To address this issue, try cutting frequencies above 5 kHz or 6 kHz.
It’s also important to address any frequency buildup or resonance caused by the guitar’s body or the recording environment. To identify these problem areas, boost the band up to 12 dB and set the Q to 5. Drag the band around the frequency range and listen for distracting room sounds, such as an air conditioner or road noise.
EQ Techniques for Acoustic Guitar

When it comes to EQing an acoustic guitar, there are a few techniques that can help you achieve a full and balanced sound. In this section, I will explore some of the most effective EQ techniques for acoustic guitar.
Boosting and Cutting Frequencies
One of the most basic EQ techniques is boosting or cutting certain frequencies. Boosting the lower mids can add warmth to the guitar’s sound, while boosting the upper mids can add presence.
Cutting the low frequencies can help reduce muddiness, while cutting the high frequencies can reduce harshness. It is important to use a narrow Q when boosting or cutting frequencies to avoid affecting other frequencies.
Using High-Pass Filters
High-pass filters are useful for removing unwanted low-frequency rumble and noise. They work by cutting frequencies below a certain point, typically around 80 Hz. High-pass filters can help clean up the mix and make the guitar sound more defined.
Finding the Sweet Spot
The sweet spot is the frequency range where the guitar sounds the best. It is important to find this sweet spot and boost it slightly to bring out the guitar’s natural tone. The sweet spot can vary depending on the guitar and the recording environment, so it is important to experiment with different frequencies.
EQing an acoustic guitar requires a combination of boosting and cutting frequencies, using high-pass filters, and finding the sweet spot. By using these techniques, you can achieve a full and balanced sound that complements the mix.
Mic Placement and Room Acoustics
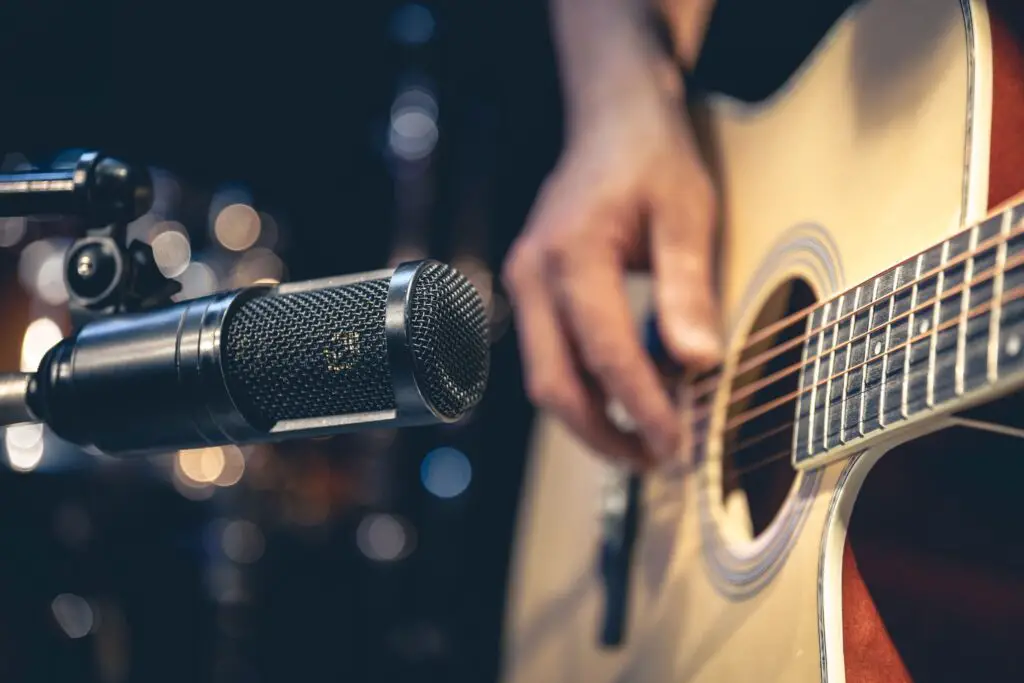
When it comes to recording an acoustic guitar, mic placement and room acoustics play a crucial role in achieving a desirable sound. In this section, I’ll cover some tips on choosing the right microphone, optimizing mic placement, and dealing with room acoustics.
Choosing the Right Microphone
Choosing the right microphone is essential for capturing the full range of an acoustic guitar’s sound. There are several types of microphones to choose from, including dynamic, condenser, and ribbon mics.
Condenser microphones are the most common choice for recording acoustic guitars due to their ability to capture a wide frequency range and transient response. However, it’s important to note that not all condenser mics are created equal.
Some are better suited for recording specific types of acoustic guitars, such as dreadnoughts or smaller-bodied guitars. It’s essential to research and test out different microphones to find the one that best suits your needs.
Optimizing Mic Placement
Mic placement is critical for capturing the best sound from an acoustic guitar. The general rule of thumb is to place the microphone about 6-12 inches away from the guitar’s soundhole. However, this can vary depending on the type of microphone being used, the guitar’s size and shape, and the player’s playing style.
Experimenting with different mic positions can help achieve a more balanced sound. For example, placing the mic closer to the fretboard can produce a brighter sound, while moving it closer to the bridge can produce a warmer sound.
Dealing with Room Acoustics
Room acoustics can significantly impact the sound of an acoustic guitar, especially when recording in a home studio or playing live in a venue. The size, shape, and materials of the room can affect reverberation, reflections, and overall tone.
To mitigate any undesirable acoustic characteristics of the room during recording, it’s essential to choose a room with good acoustics or use sound-absorbing materials, such as acoustic panels or blankets. When playing live, it’s important to consider the venue’s acoustics and adjust the mic placement and EQ accordingly to achieve the best sound possible.
By taking the time to choose the right microphone, optimize mic placement, and deal with room acoustics, you can achieve a professional-sounding recording or live performance of your acoustic guitar.
Mixing Acoustic Guitar with Other Instruments
When mixing an acoustic guitar with other instruments, it’s important to find the right balance between all the tracks to avoid any one instrument overpowering the others. Here are some tips to help you achieve a well-balanced mix:
Balancing the Acoustic Guitar in the Mix
The acoustic guitar is often the centerpiece of a mix, so it’s important to make sure it’s balanced well with the other instruments. One way to do this is to start with the acoustic guitar at the center of the stereo image and then pan the other instruments around it. This will help create a clear and defined space for each instrument in the mix.
Another way to balance the acoustic guitar is to use volume automation. This technique involves adjusting the volume of the acoustic guitar in different sections of the song to make sure it’s heard clearly in the mix.
For example, you may want to increase the volume of the guitar during a solo or decrease it during a vocal section to create a more cohesive sound.
EQ’ing for Clarity Amongst Vocals and Instruments
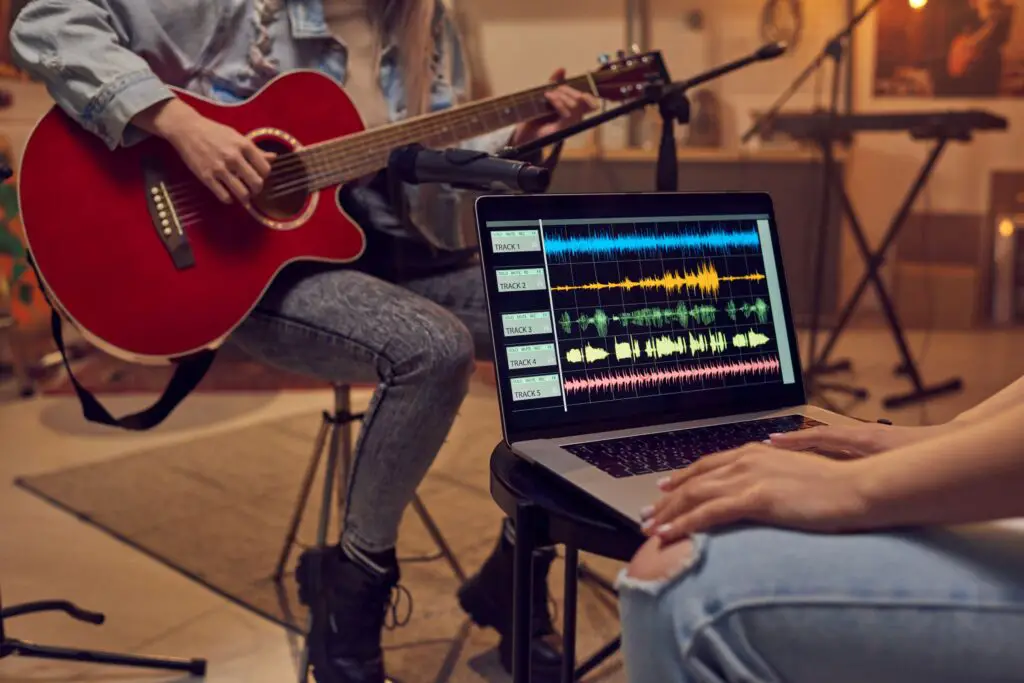
When mixing an acoustic guitar with vocals and other instruments, it’s important to use EQ to create clarity and separation. One technique is to use a high-pass filter to remove any low-frequency rumble or noise that may be present in the recording. This will create more space in the mix for other instruments and vocals.
Another technique is to use EQ to carve out specific frequency ranges for each instrument. For example, you may want to boost the midrange frequencies of the acoustic guitar to help it cut through the mix, while cutting the same frequencies on the piano to avoid competition between the two instruments.
Mixing an acoustic guitar with other instruments requires careful attention to detail and a good ear for balance and clarity. By using these techniques, you can create a mix that highlights the strengths of each instrument while creating a cohesive and engaging sound.
Advanced EQ Techniques and Tools
Parametric vs. Graphic EQ
When it comes to EQing an acoustic guitar, there are two main types of EQs: parametric and graphic. Graphic EQs are simpler and easier to use, with fixed frequency bands that you can boost or cut. Parametric EQs, on the other hand, are more complex and allow you to adjust the frequency, depth, and shape of each band.
I prefer to use a parametric EQ when working with acoustic guitars because it gives me more precise control over the sound. With a parametric EQ, I can adjust the frequency response of the guitar to match the room and eliminate any unwanted frequencies.
Utilizing Spectrum Analyzers
Another useful tool for EQing an acoustic guitar is a spectrum analyzer. This tool allows you to see the frequency spectrum of the guitar and identify any problem areas.
When using a spectrum analyzer, it’s important to remember that the goal is not to achieve a perfectly flat response, but rather to achieve a balance that sounds good to your ears. Use the spectrum analyzer to identify any areas where the guitar sounds too boomy or lacks fullness, and adjust the EQ accordingly.
Precision EQ for Unique Characteristics
Every acoustic guitar has its own unique characteristics, and it’s important to take these into account when EQing. Some guitars may have a lot of air and sparkle in the high end, while others may be more midrange-heavy.
To achieve the best possible sound, it’s important to use precision EQ to bring out the unique characteristics of the guitar. This may involve boosting certain frequencies to bring out the fullness of the guitar, or cutting frequencies to eliminate any boominess or muddiness.
Overall, advanced EQ techniques and tools can help you achieve a better sound when working with acoustic guitars. By using a parametric EQ, utilizing spectrum analyzers, and using precision EQ to bring out the unique characteristics of the guitar, you can achieve a sound that is balanced, full, and pleasing to the ear.
Frequently Asked Questions

What are the optimal EQ settings for a live acoustic guitar performance?
Optimal EQ settings for live acoustic guitar performance depend on several factors, including the venue, the sound system, and the specific guitar being played. However, a good starting point is to cut the low frequencies below 80 Hz to reduce any unwanted rumble or boominess.
Boosting the midrange frequencies between 1 kHz and 2 kHz can help bring out the guitar’s natural warmth and clarity, while cutting the high frequencies above 10 kHz can help reduce any harshness or sibilance.
How do you set up a 3-band EQ for an acoustic guitar?
Setting up a 3-band EQ for an acoustic guitar involves adjusting the bass, midrange, and treble frequencies to achieve the desired tone.
A good starting point is to set the bass to around 100 Hz, the midrange to around 1 kHz, and the treble to around 10 kHz. From there, listen to the guitar and make any necessary adjustments to achieve the desired tone.
What is the ideal EQ curve to make an acoustic guitar sound clearer?
The ideal EQ curve to make an acoustic guitar sound clearer depends on the specific guitar being played and the desired tone. However, a good starting point is to cut the low frequencies below 80 Hz to reduce any unwanted rumble or boominess.
Boosting the midrange frequencies between 1 kHz and 2 kHz can help bring out the guitar’s natural warmth and clarity, while cutting the high frequencies above 10 kHz can help reduce any harshness or sibilance.
Do acoustic electric guitars benefit from an EQ pedal, and if so, how?
Acoustic electric guitars can benefit from an EQ pedal, as it allows for greater control over the guitar’s tone. An EQ pedal can be used to boost or cut specific frequencies, allowing the player to tailor the guitar’s tone to the specific performance or recording situation.
For example, boosting the midrange frequencies can help the guitar cut through a mix, while cutting the high frequencies can help reduce any harshness or sibilance.
What are the best EQ techniques for acoustic guitar and vocals?
The best EQ techniques for acoustic guitar and vocals depend on the specific performance or recording situation. However, a good starting point is to cut the low frequencies below 80 Hz on both the guitar and vocals to reduce any unwanted rumble or boominess.
Boosting the midrange frequencies between 1 kHz and 2 kHz on the guitar can help bring out the guitar’s natural warmth and clarity, while boosting the midrange frequencies between 2 kHz and 4 kHz on the vocals can help bring out the singer’s natural presence and clarity.
How can beginners effectively EQ an acoustic guitar?
Beginners can effectively EQ an acoustic guitar by starting with a simple 3-band EQ and making small adjustments to the bass, midrange, and treble frequencies. It’s important to listen carefully to the guitar and make small adjustments, as even small changes can have a big impact on the overall tone.
Additionally, it’s important to experiment with different EQ settings to find the tone that works best for the specific guitar and performance or recording situation.

My name is Howard Matthews and I have been playing the guitar since I was knee-high. My parents like to joke that I was pulling the strings even before I was born. In fact, one of my earliest memories is sitting on the couch with my dad’s guitar, wreaking havoc on the chords.
Now, 40 years later, I can attest that I play them much better than I did back then. I have followed in the footsteps of both my parents – much to their delight – and have been the main guitarist in my band for the best part of three decades.
Music has always been my passion, and until recently my life has been so consumed with it that I haven’t had a moment to have a breath (and I wouldn’t have it any other way)!


